I first saw the crayon heart valentines on the Family Fun website. I thought they looked adorable but didn’t have a heart mold so I figured I’d just send the regular store-bought valentines instead since I had a few I purchased on clearance a few years back. Then we went to Target and I saw the heart molds in the dollar section of the store and I couldn’t pass up the opportunity. Plus they were all over Pinterest!
So I went to the store, stocked up on a mold and crayons and headed home to do some experimenting. Before I started I did a little research to see what others were saying about the craft. I try not to just jump into a tutorial without reading about it from a few others first. That can lead to disaster (or just make it harder on me since others have found key tips/tricks on making it easier). Once I got the low-down I headed to the kitchen to soak, unwrap, break and bake! And here’s what I did:
Materials Needed:
- 1 box crayons, unwrapped (or left over broken crayons laying around)
- 1-2 heart molds, choose your size
- Construction Paper
- Alphabet stamps OR printer
- Adhesive dots
What to do:
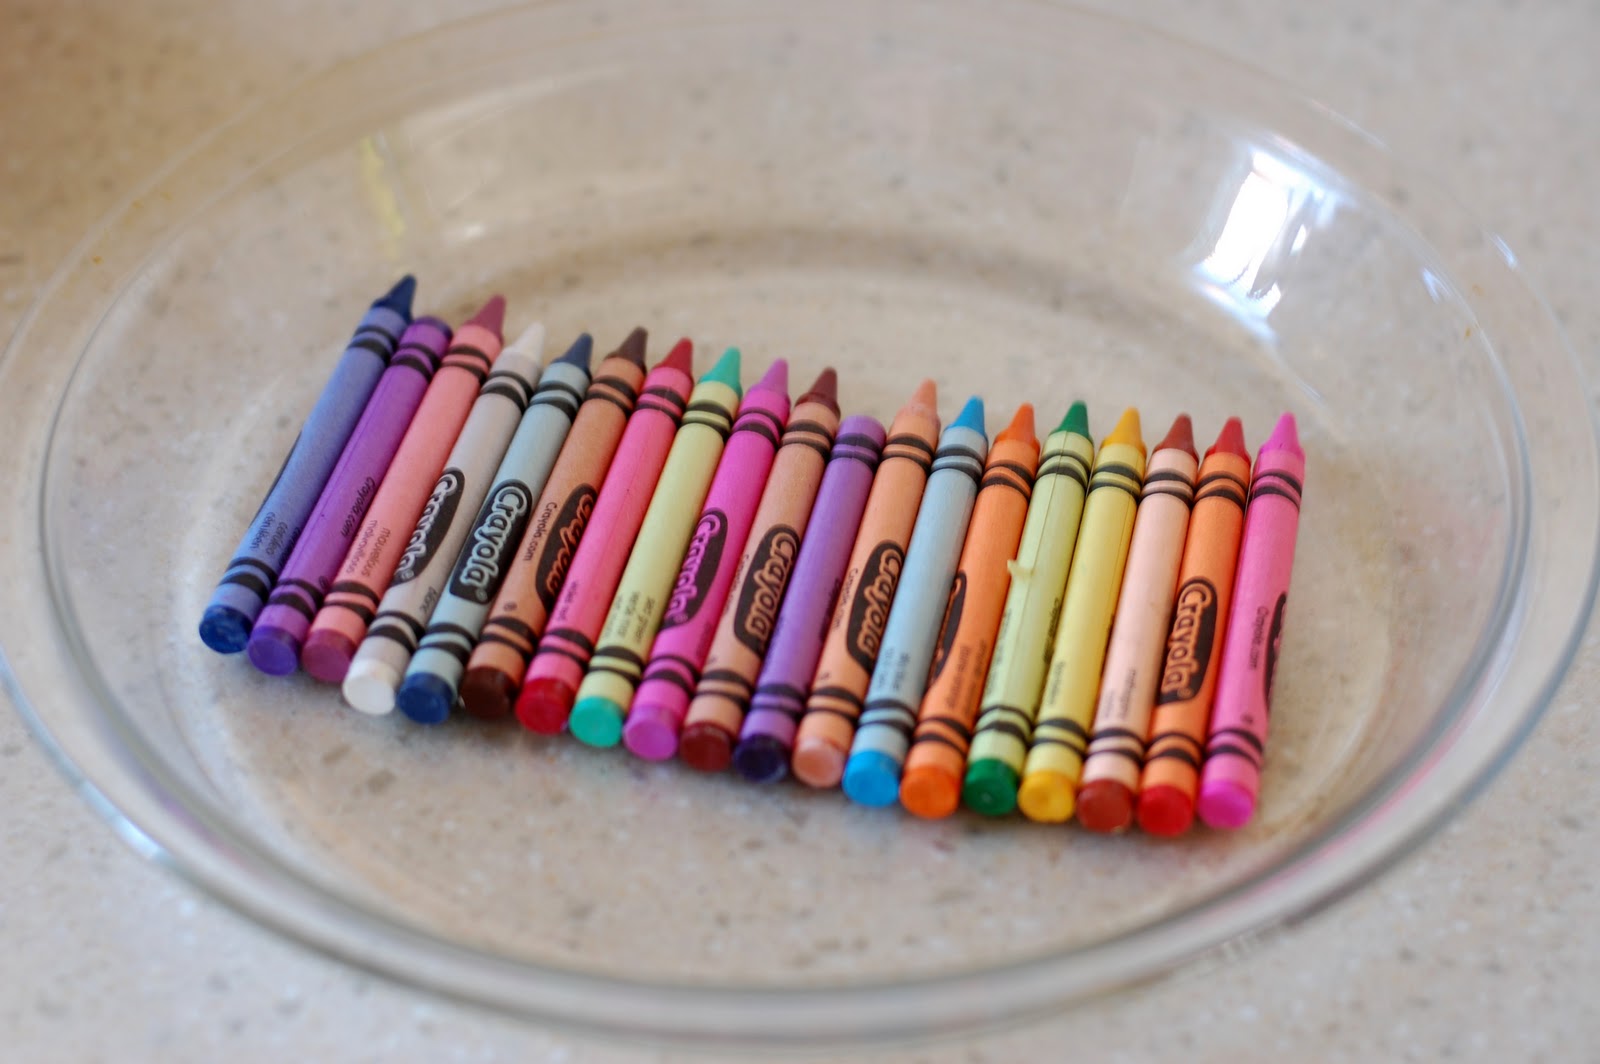
Place your crayons in a heat proof dish & preheat oven to 250 degrees.
Heat up some water and pour warm water on crayons (note: do not use boiling water… crayons might melt).

Let crayons soak for 30 seconds (see what happens when your water’s too hot?).

Unwrap crayons (any that didn’t unwrap easily after soaking were set aside and not used).

Put crayons in a dish and let kids break them up into small, tiny pieces (or put them in a bag and hammer with a kitchen mallet or meat tenderizer until broken up).

Place heart molds on a rimmed baking sheet and fill with broken crayon pieces.

Place tray in oven and bake for 15-18 minutes or until crayons are fully melted. Then carefully take out of oven and set aside to harden.

Once cooled completely pop crayons out of molds and smooth edges by rubbing against a piece of paper.

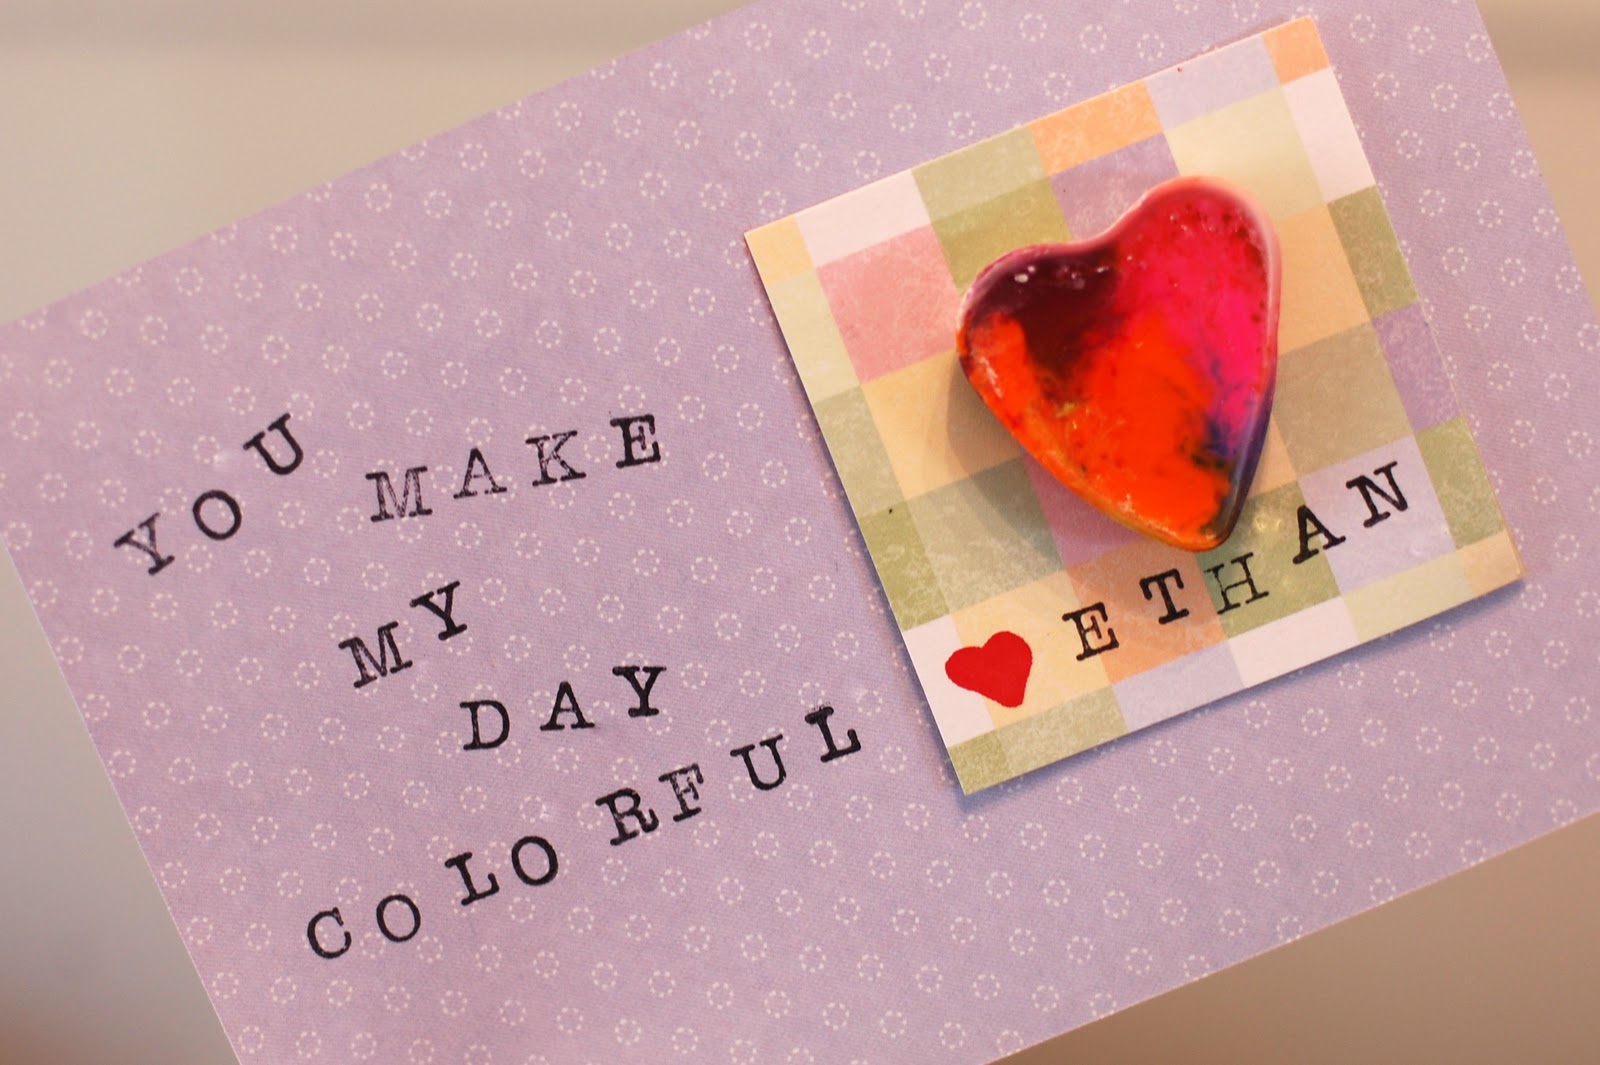
Now’s the fun part! You can decide what you want to do with the crayons once you’ve baked them. I decided to use scrapbooking paper I already had in the house to create a postcard sized Valentine for my son. You can use this printable here for a square valentine with the writing already on the paper or this printable here for a circle valentine (you just have to add your child’s name).
Or you can do what I did and use an alphabet stamp set to customize the sayings you put on each valentine. I simply adhered the crayon to a square piece of scrapbook paper with a glue dot and than layered that onto a larger postcard size piece of scrapbook paper. Then I stamped the sayings I wanted as well as my son’s name to personalize it. You can also have your child decorate the postcard paper by drawing or coloring on it before you stamp out your sayings. You can find more sayings here (as well as more printables!).
The possiblilties and variations really are endless with this craft. And the kids have a great time helping you make them too. Much more personal then a store-bought valentine and twice as cute!